
Signed commits attach a cryptographic signature to a Git commit. This walkthrough covers generating a GPG key, adding its public component to GitHub, configuring Git and checking the resulting signatures.
How to Set Up a GPG Key for Signed Git Commits: A Step-by-Step Guide
Signing your commits with a GPG key is a great way to ensure authenticity and trust on GitHub. Let’s dive into the steps to generate and configure a GPG key for your Git commits!
Step 1: Generate a GPG Key
Open Git Bash
Launch Git Bash from your applications.Generate a GPG Key
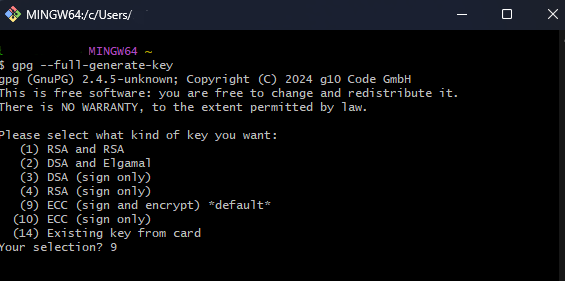
Run the following command:
gpg --full-generate-key
Choose Key Type
Opt for the default option:(9) ECC (sign and encrypt) *default*
Select Elliptic Curve
Stick with the default:(1) Curve 25519 *default*

Set Key Expiry Date
Enter0for no expiration.

Confirm Key Details
Typeyand press Enter.Enter User Information
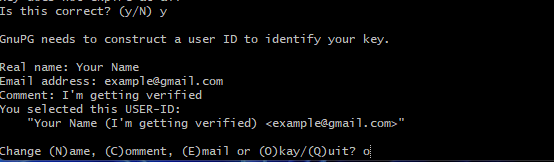
Provide your name and email, then press Enter after each.
   Real name: Your Name
   Email address: example@gmail.com
Final Confirmation
Typeoto confirm.
Set Passphrase
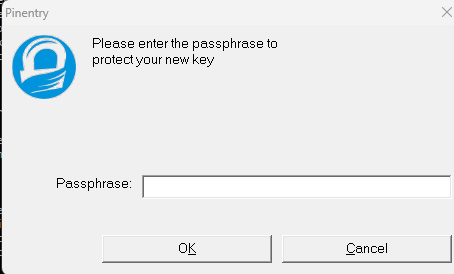
When prompted, just click OK without entering anything.
Step 2: Locate Your GPG Key
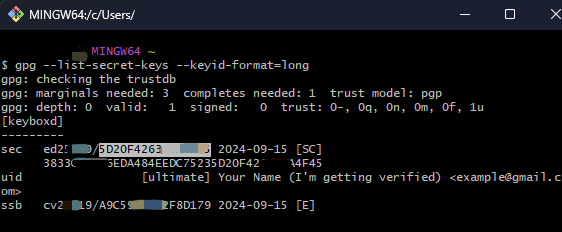
- List Secret Keys Run:
gpg --list-secret-keys --keyid-format=long
-
Identify Key ID
Copy the key ID from the line starting with
sec:
sec 4096R/12345678 2024-09-15 [expires: 2025-09-15]
-
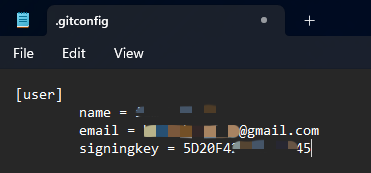
Update Git Configuration
Edit your
.gitconfigfile and add:
   [user]
     signingkey = 12345678
Step 3: Export Your Public Key
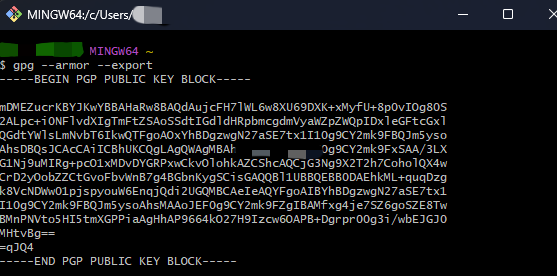
- Export Public Key Run:
gpg --armor --export
- Copy Public Key Copy everything between the lines:
   -----BEGIN PGP PUBLIC KEY BLOCK-----
   ...
   -----END PGP PUBLIC KEY BLOCK-----
Step 4: Add Your GPG Key to GitHub
Log in to GitHub
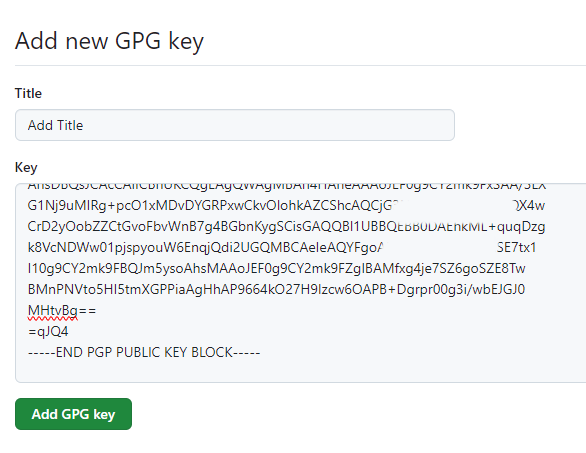
Go to your GitHub account.Navigate to SSH and GPG Keys
Click your profile picture > Settings > SSH and GPG keys.Add New GPG Key
Click New GPG Key and paste the public key.
Authenticate
Enter your GitHub password if prompted.
Step 5: Enable Commit Signing in Git
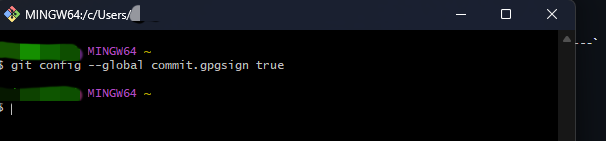
- Configure Git Enable signing by running:
git config --global commit.gpgsign true
- Verify Configuration Check that signing is enabled:
git config --global --get commit.gpgsign
It should return true.
Step 6: Test Signing Your Commits
- Create a Test Repository Run:
   git init test-repo
   cd test-repo
- Make a Test Commit Add a file and commit:
   echo "Test file" > test.txt
   git add test.txt
   git commit -m "Test commit"
- Verify Signed Commit Run:
git log --show-signature
You should see a message confirming the good signature.
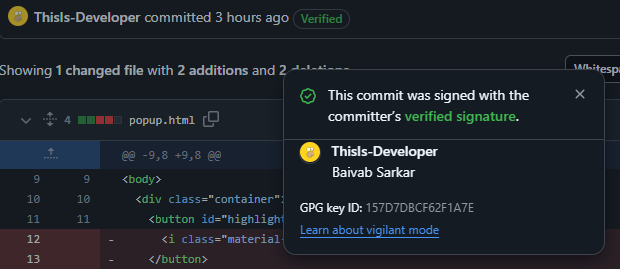
Congratulations!